This document provides step-by-step instructions on how to set up Slack notifications for projects available on the TESTaide application. To manage Slack notifications for individual test plans, please refer to this guide.
Setting up Slack WebHooks
Before setting up notifications in the TESTaide application, a Slack WebHook needs to be created. To do so, follow these steps:
Open the Slack application or web browser
From the left-hand sidebar, click the ‘Browse Slack’ button and from the drop-down menu click on the ‘Apps’ option.
On the apps page, search for ‘Incoming WebHooks’ in the search bar and click the Add button which will redirect you to the Slack browser.
On the Settings page, enter the information and click ‘Save Settings’.
Copy and save the generated WebHook URL. This will be used in the TESTaide application when setting up Slack notifications.
The information entered on the settings page is not detrimental to the TESTaide notification settings.
Example video

Slack Notification
To set up Slack notifications:
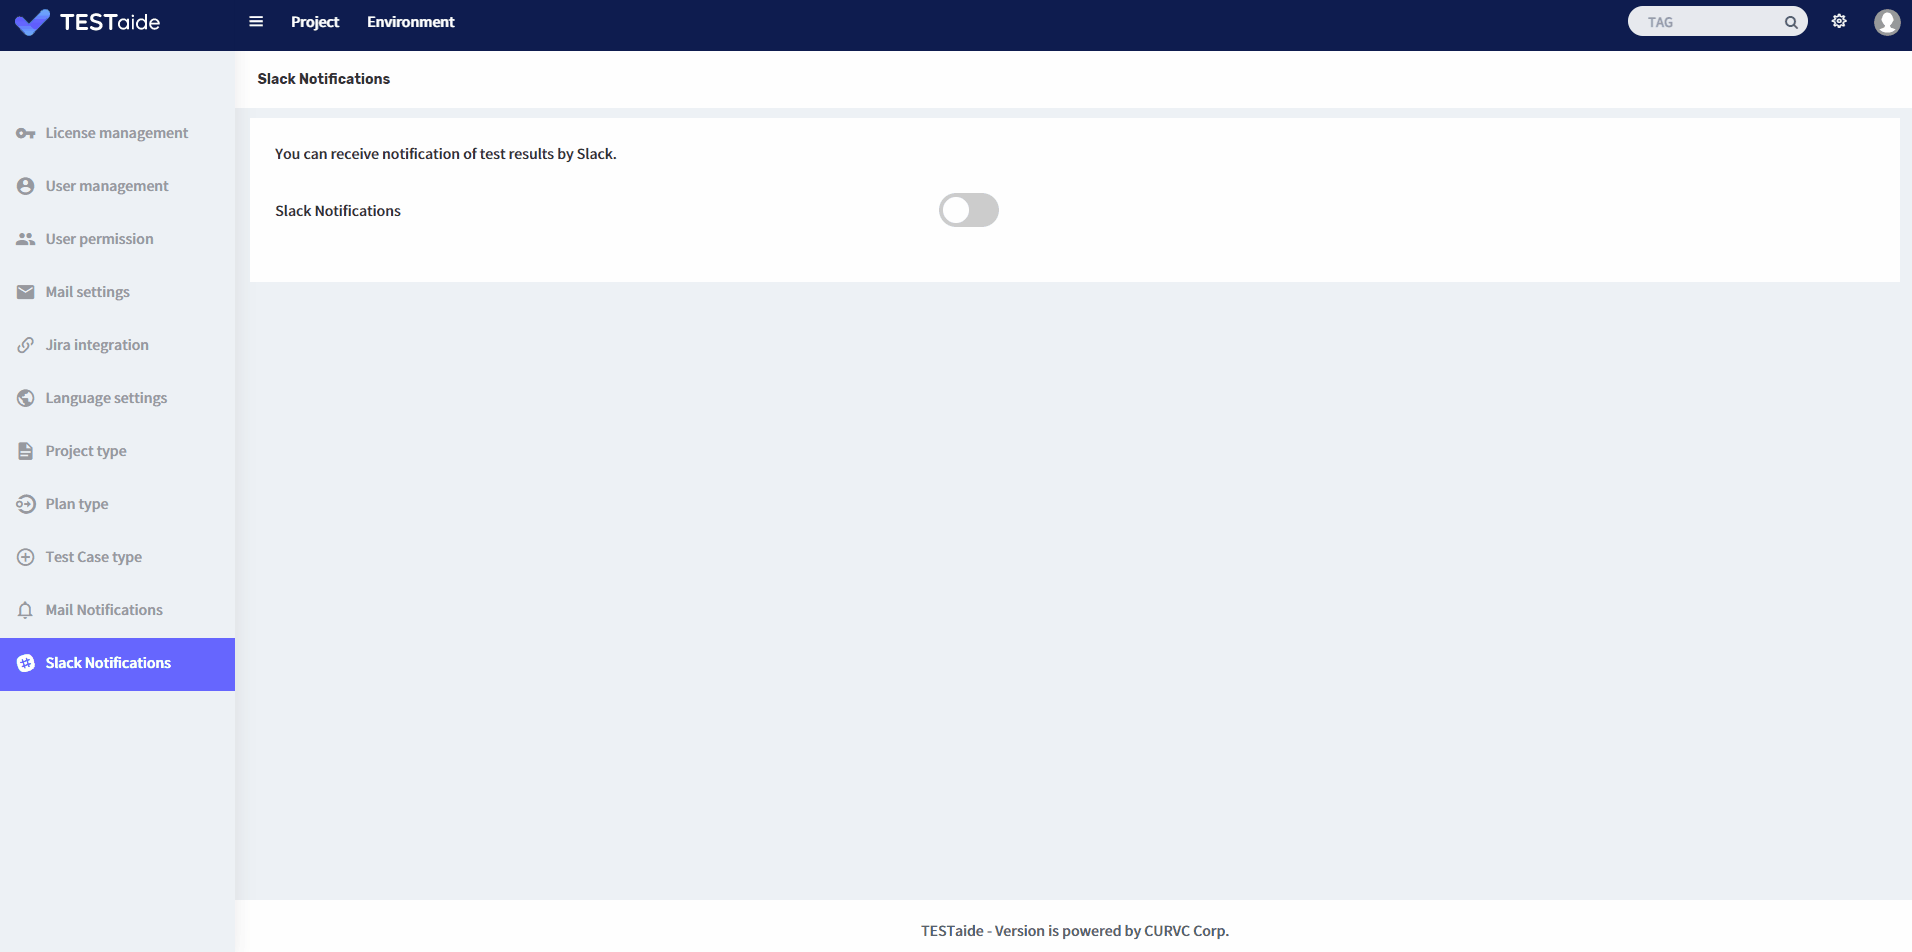
Click the '⚙ Settings' button in the header.
Select the ‘Slack Notifications’ menu on the sidebar.
On the Slack Notification Settings page, turn the switch on to receive Slack notifications.
Add Slack Channel for receiving notifications from a project
To add a Slack channel to receive notifications, follow these steps:
Add Slack channel to receive notifications from an entire project
Click the '⚙ Settings' button in the header.
Select the ‘Slack Notifications’ menu on the sidebar.
From the list of projects, click the ‘Edit’ icon in the ‘Notification’ column for the project you want to set up Slack notifications for.
On the project notification page, will you be able to view the three events that is available to receive notification from, regression start, end, or fail. To receive notifications from an event, click the ‘Edit’ button for the desired event type.
On the pop-up window, enter the Slack WebHook URL previously retrieved as well as the specific Slack channel which should receive the notifications
Click ‘Save’ and the channel will now receive notifications whenever the chosen event for the project occurs.
Delete Slack Channel from receiving notifications from a project
To remove a Slack channel from receiving, follow these steps:
Click the '⚙ Settings' button in the header.
Select the ‘Slack Notifications’ menu on the sidebar.
From the list of projects, click the ‘Edit’ icon in the ‘Notification’ column for the project which you want to delete an Slack notifications from.
Click the 'Delete' option beside the Slack channel for the event type you want to remove notifications from.
When the deletion confirmation pop-up window appears, click the ‘OK’ button to complete the deletion.
NOTE: This removes Slack notifications from ALL test plans of the project for that recipient.