This document provides how to integrate Jira with TESTaide.
To integration with Jira all information must be entered correctly.
Download the TESTaide for Jira add-on from the following link.
Install Jira Add-on
To add Add-on that connects TESTaide and Jira:
Log in to Jira as an administrator.
Click the ‘Administration’ icon. When a pop-up menu appears, select ‘Add-ons'.
Select the ‘Manage apps’ menu on the left sidebar and upload the app you downloaded.
When the installation is complete, click the ‘Settings’ button in the app details.
In the configuration page, enter the following information.
Server URL : http://<TESTide domain>/rest/issue.do?key=
ex) http://testaide.io/rest/issue.do?key=
ex) http://localhost:8080/rest/issue.do?key=
Click the ‘Save’ button at the bottom to complete the Jira add-on configy.
When you install the TESTaide for Jira add-on, the TESTaide Link is automatically created as a custom field.
Jira Custom Fields
To configure the custom field that displays a link from Jira to TESTaide:
Log in to Jira as an administrator.
Click the ‘Administration’ icon. When a pop-up menu appears, select ‘Issues'.
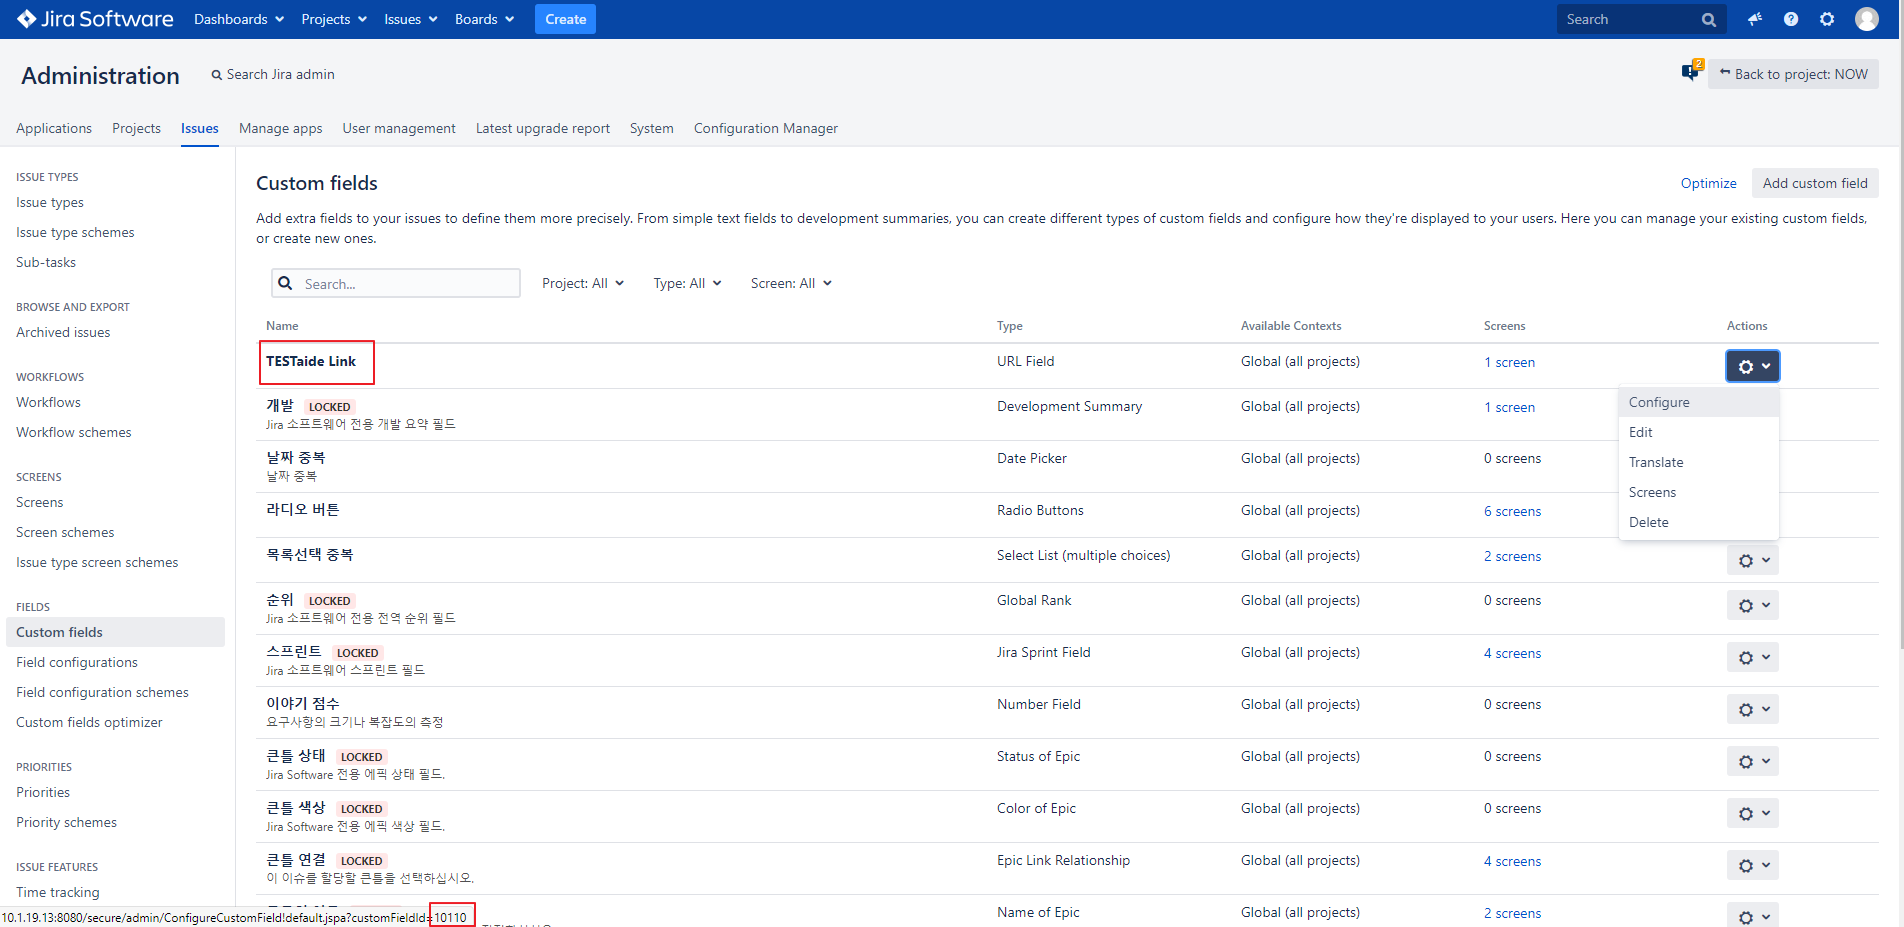
Select the 'Custom fields' menu on the left sidebar and search for TESTaide Link.
Click the ‘Settings’ icon in action column. When a pop-up menu appears, move the mouse cursor over ‘Configure’.
If you look at the bottom of the configuration page, you can check the custom field ID value such as 'customFieldId=10110'. (It is a required value when integration with Jira so record it)
Click the ‘Edit Configuration’ link besides Applicable contexts for scheme or click the ‘Settings’ icon .
In the configuration page, enter the following information.
Modify configuration scheme context
Configuration scheme label : Label for this context
Description : Optional description for this context
Choose applicable issue types
Issue types : Apply for all issues with any selected issue types
Choose applicable context
Global context. Apply to all issues in Jira.
Apply to issues under selected projects
Projects : Apply for all issues in any selected projects
Click the ‘Modify’ button at the bottom to complete the Jira custom field configuration.
Jira Integration
For the integration with Jira, all the information must be entered correctly.
To integration with Jira:
In TESTaide home, click the ‘Administration’ button in header.
Select the ‘Jira Integration’ menu on the sidebar.
In the Jira integration page, enter the following information.
Base URL : Enter the base URL of Jira.
Bug Type : You can register a defect as a bug issue type of Jira. Enter the code of the issue type. ex)10102
 How to check the bug type id?
Go to the 'Administration>Issue Type' page in the upper right of the Jira main screen. Then move the mouse cursor to the “edit” of the bug type. If you look at the bottom of the page, you can see the bug type ID value such as '10004'.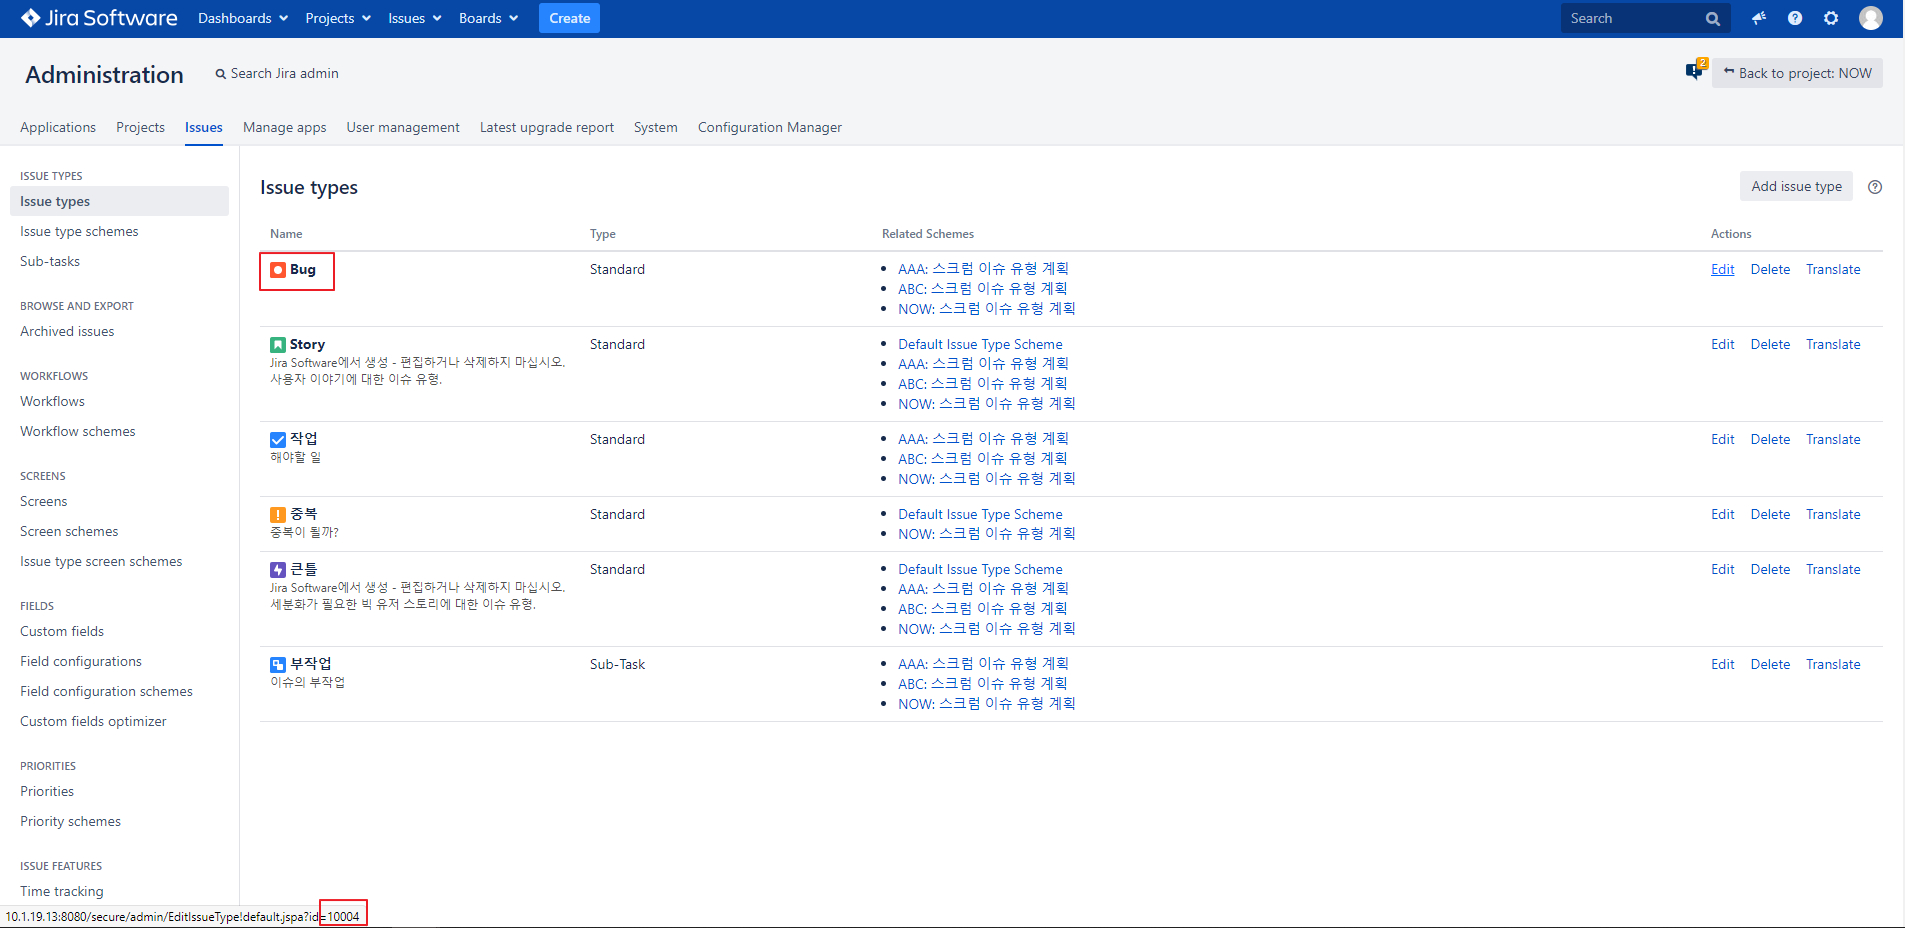
TESTaide Link Field : Enter the code of the custom field of Jira. ex) customfield_10600
User ID : Testaide retrieves the Jira project key with this user id and password.
User Password
Click the ‘Save’ button at the bottom to complete the integration with Jira.
Jira WebHooks
To set up JIra WebHooks integration:
Log in to Jira as an administrator.
From the Jira main screen, select 'Management>System' in the upper right corner.
Select 'Webhook' in the left sidebar.
Click the Create Web Hook button and enter the following information.
Name : WebHook Name
Status : Whether or not to use
URL : http://<TESTide domain>/rest/issue.do?key=
ex) http://testaide.io/rest/issueHook.do
ex) http://localhost:8080/rest/issueHook.do
Events : issueType in (Bug)
Issue : Select created, updated, deleted
Click the 'Create' button at the bottom to complete the WebHook setup.