Tables are a good way to organize text into rows and columns. They can also be used as a quick and simple way to arrange the layout of a document. By making a table's borders invisible and inserting text and images, you can unobtrusively arrange the contents of a document in a orderly and attractive fashion.
Here you will learn how to create and use tables.
Inserting TablesInserting Tables
1 | Click the (Create Table) button on the toolbar. |
2 | In the panel that appears, enter the number of Rows and Columns that you want the table to have. For example, if you want a table with 2 rows and 4 columns, you would enter the information shown below. |
If the Administrator sets the Accessibility options to Level 1 or Level 2, the user must enter text in the Caption and Summaryfields and select a Table Header. | |
3 | Click on a cell in the table to place the cursor in the cell and then enter text. |
Drawing Tables
1 | Click the (Draw Table) button on the toolbar. |
2 | Drag the mouse across the Draw Table window to set the number of rows and columns. |
3 | Click the left mouse button to insert the table. For example, if you select 5 rows and 7 columns, the following table will be inserted. |
4 | Click a cell to place the cursor inside of it, and enter content in the table. |
Modifying Table Border Color
You can modify the color of the edges of the table you entered.
1 | Place the cursor inside the table and press the right mouse button. |
2 | In the context menu, click . |
3 | In the panel that appears, click the colored box next to . |
4 | Select a color from the palette that appears. |
5 | Click . |
Changing Table Size
Changing the Table Size from the Toolbar
Click the () button and adjust the and values to adjust the size of the table. The values are in terms of pixels.
You can also click and drag the table borders with the mouse to change the size.
Changing the Table Size with the Mouse
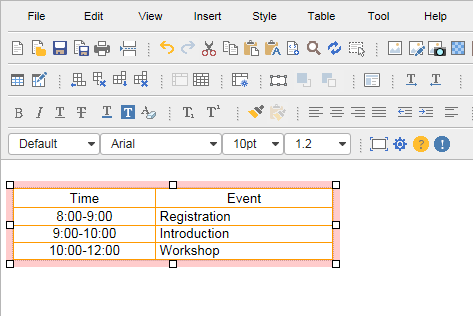
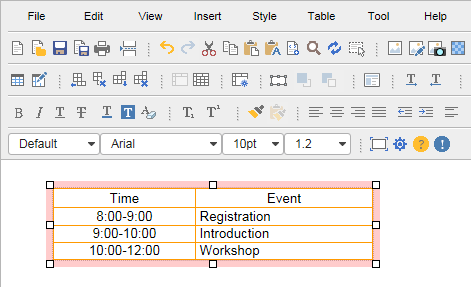
Place the cursor inside a cell of the table to display the selection tracker on the boundary of the table.
Select the tracker to select the table, and the color of the tracker will turn pink, then use the handles (grey square box) displayed on the edge to adjust the size of the table.
1 | Place the mouse pointer at the handle (grey square box) displayed on the edge of the table. An arrow will appear. |
2 | Drag it when it looks like an arrow. Then, the overall size of the table will be changed. |
If you place the mouse pointer on any of the table's borders (except for the top and leftmost borders), it will change into a pair of gray arrows. You can then click and drag the mouse to move the border.
1 | Place the mouse pointer on the border. It will change into a pair of gray arrows. |
2 | Click on the border and drag the mouse to adjust the border and the size of the cell. |
Merging Cells
1 | Click and drag the mouse across several cells to select them. |
2 | On the toolbar, click the () button. The cells will merge into one cell and the contents of each cell will become a separate paragraph within the new cell. |
Aligning Cell Content
1 | Select the cell(s) that you want to align. |
2 | On the toolbar, click (one of the text alignment buttons). The cell's content will be aligned according to the button you clicked. |
Splitting Cells
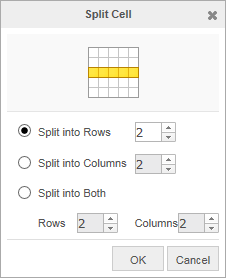
1 | Click the cell that you want to divide and click the () button. |
2 | In the panel that appears, set the number of rows or columns that you want to split the cell into. Then click . |
Inserting Rows
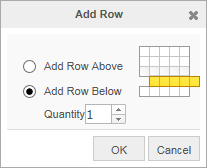
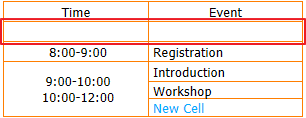
1 | Click on the cell where you want to add the row (either above or below) and click the () button on the toolbar. |
2 | In the panel that appears, choose whether you want to add the new row(s) above or below the selected row, and how many rows you want to add. Then click . |
Increasing Table Indentation
You can indent an entire table. The width of the indentation is 6 spaces. This width is not adjustable.
1 | Right-click the table. |
2 | In the context menu, click . You can use the command multiple times to further increase the indentation. |
Decreasing Table Indentation
You can use the command to remove indentation from a table.
1 | Right-click the table. |
2 | In the context menu, click . You can use the command multiple times to further decrease the indentation. |
Using Calculation Features
The table calculation features allow you to perform basic calculations on the data in your table, such as finding the sum and average of table values.
Sum
This feature finds the sum of table values.
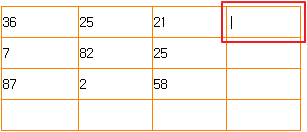
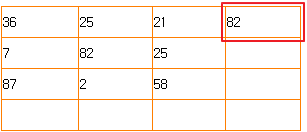
1 | Right-click the table cell where you want the result of the calculation to be entered. |
2 | In the context menu, click . |
3 | Click and drag the mouse across adjoining cells which will be summed. When you release the mouse, the sum will appear in the cell selected in Step 1. |
Average
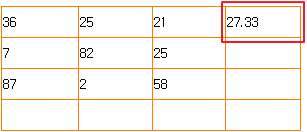
This feature finds the average of table values (up to two decimal places).
1 | Right-click the table cell where you want the result of the calculation to be entered. |
2 | In the context menu, click . |
3 | Click and drag the mouse across adjoining cells which will be averaged. When you release the mouse, the average will appear in the cell selected in Step 1. |
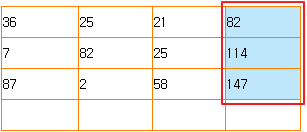
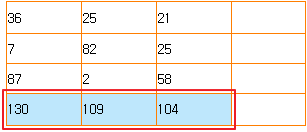
Column of Sums
You can calculate the sums for multiple rows all at once.
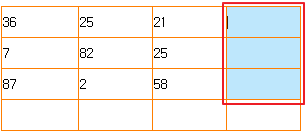
1 | Click and drag the mouse across the adjoining cells where you want the sums to be entered. |
2 | Right-click the selection and click in the context menu. |
3 | The sum of each selected cell's row will appear in the cell. |
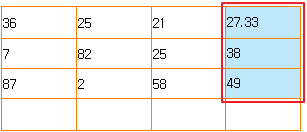
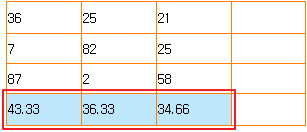
Column of Averages
You can calculate the averages for multiple rows all at once (up to two decimal places).
1 | Click and drag the mouse across the adjoining cells where you want the averages to be entered. |
2 | Right-click the selection and click in the context menu. |
3 | The average of each selected cell's row will appear in the cell. |
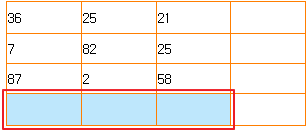
Row of Sums
You can calculate the sums for multiple columns all at once.
1 | Click and drag the mouse across the adjoining cells where you want the sums to be entered. |
2 | Right-click the selection and click in the context menu. |
3 | The sum of each selected cell's column will appear in the cell. |
Row of Averages
You can calculate the averages for multiple columns all at once (up to two decimal places).
1 | Click and drag the mouse across the adjoining cells where you want the averages to be entered. |
2 | Right-click the selection and click in the context menu. |
3 | The average of each selected cell's column will appear in the cell. |
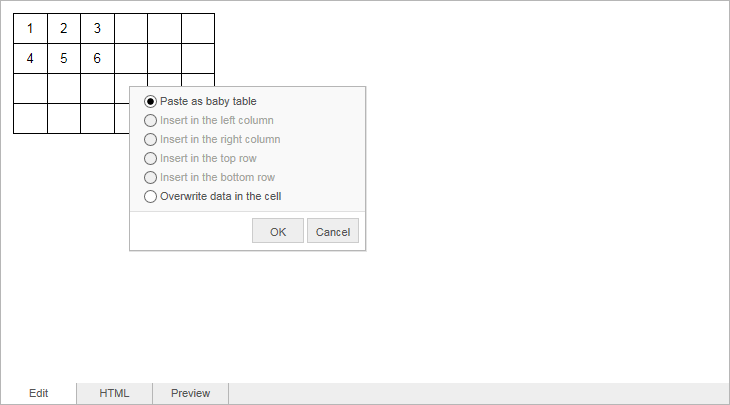
Copy & paste the table
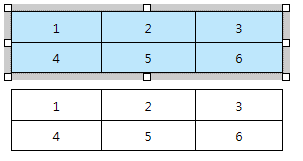
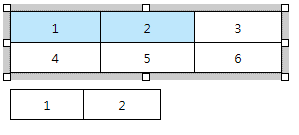
You can select the table, or select part of a cell as a block, and copy it, and what you selected will be marked when you paste it, and it will work according to your selection.
If you copy the table to another area
If you copy and paste only part of a cell


